 ( 046 ) 20-Jan-15
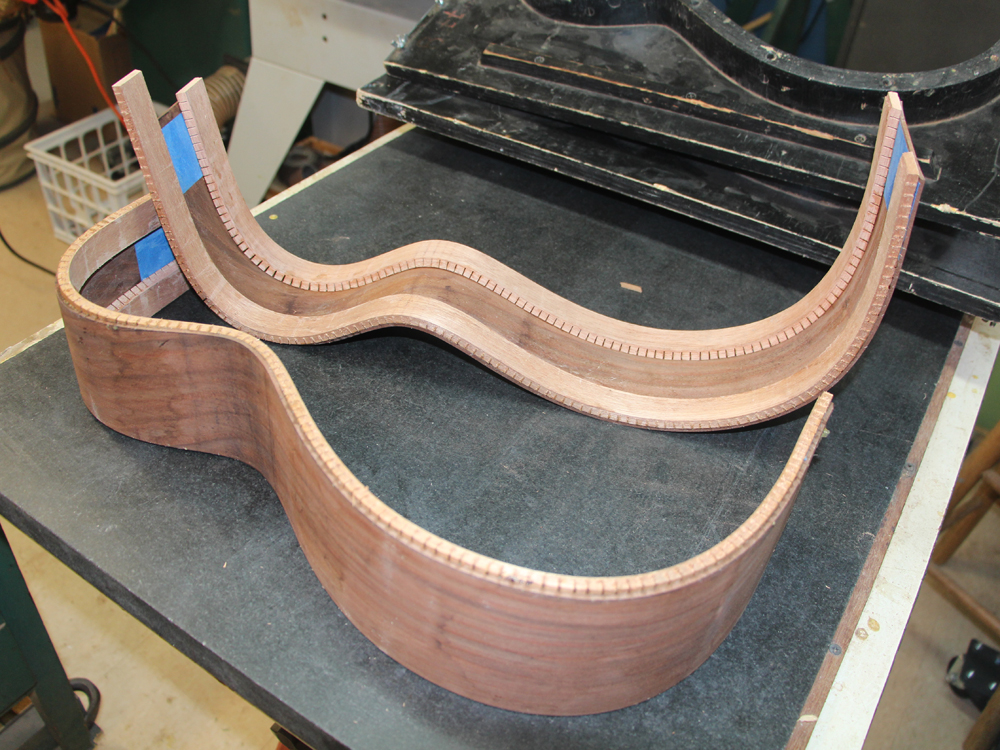
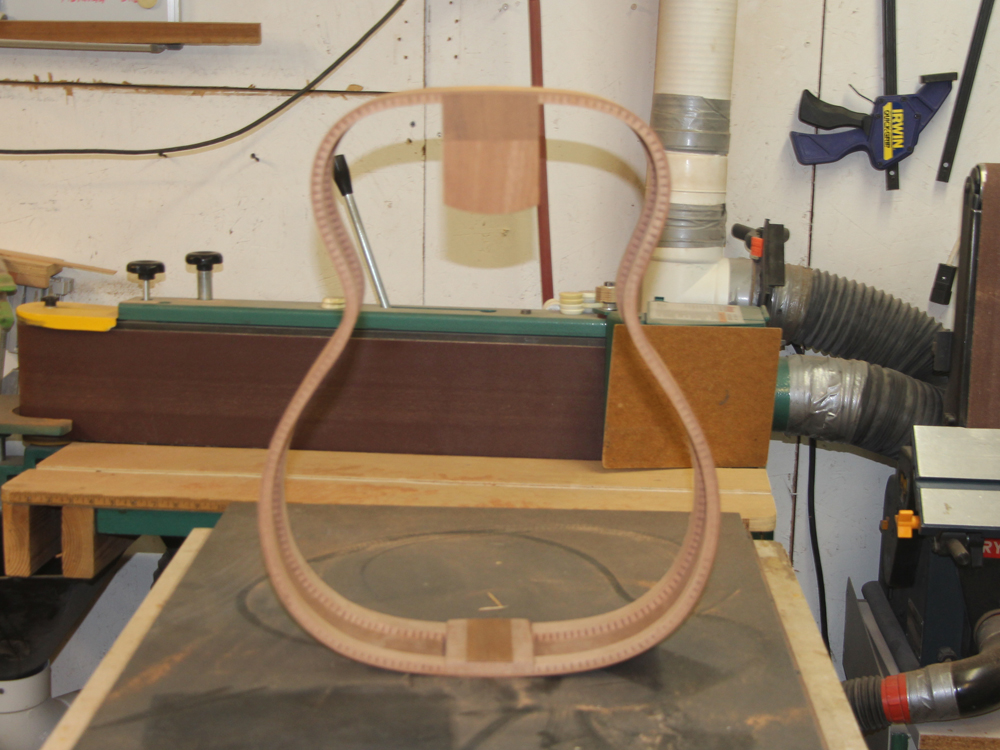
After the glue has set up overnight I pull the sides out of the forms.
OM..................... 15" Lower Bout
Body..................... Walnut
Top....................... Sitka Spruce
Bracing................. Engineered asymmetrical modified X-bracing system
Neck..................... 25.4" Scale Maple,
User Adjustable Tilt Action Neck … Variable String to Fretboard Spacing
Dual action truss rod
Fretboard.............. Ebony
Bridge................... Ebony
Binding................. Blooodwood
Appointments....... Shell Inlay
Tuners.................. Gotoh 510 Silver
Nut & Saddle....... Bone
( 046 ) 20-Jan-15
After the glue has set up overnight I pull the sides out of the forms.
 ( 047 ) 20-Jan-15
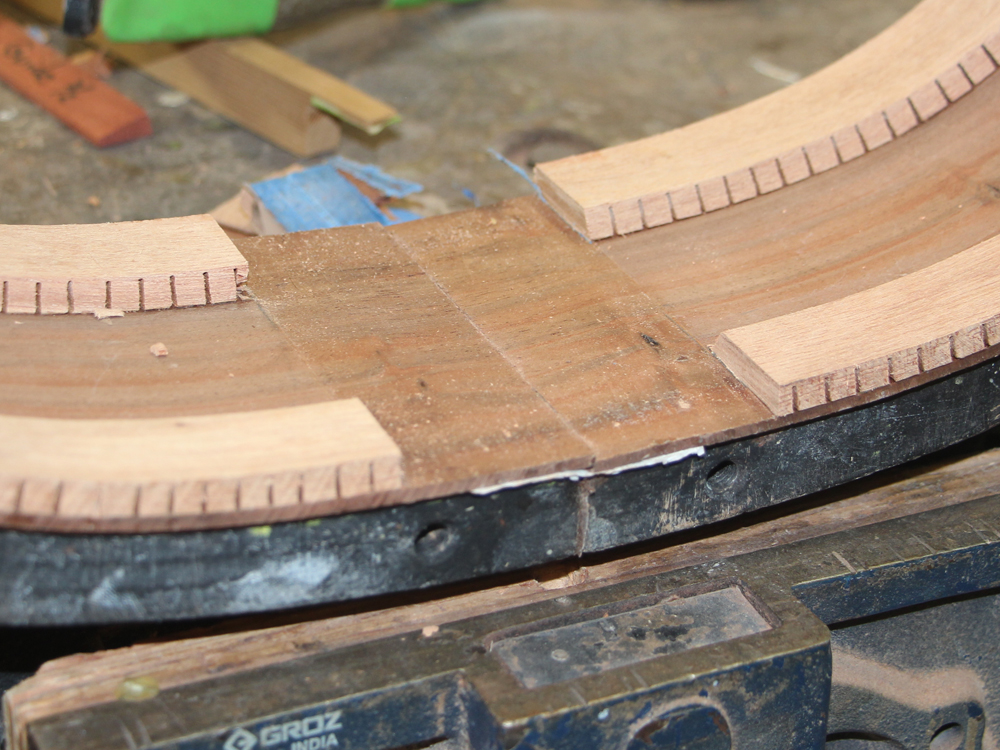
The side pieces are very strong and stiff now due to the gunwale like kerfing.
 ( 048 ) 20-Jan-15
There are a few places where the kerfing needs to be trimmed off.
 ( 049 ) 20-Jan-15
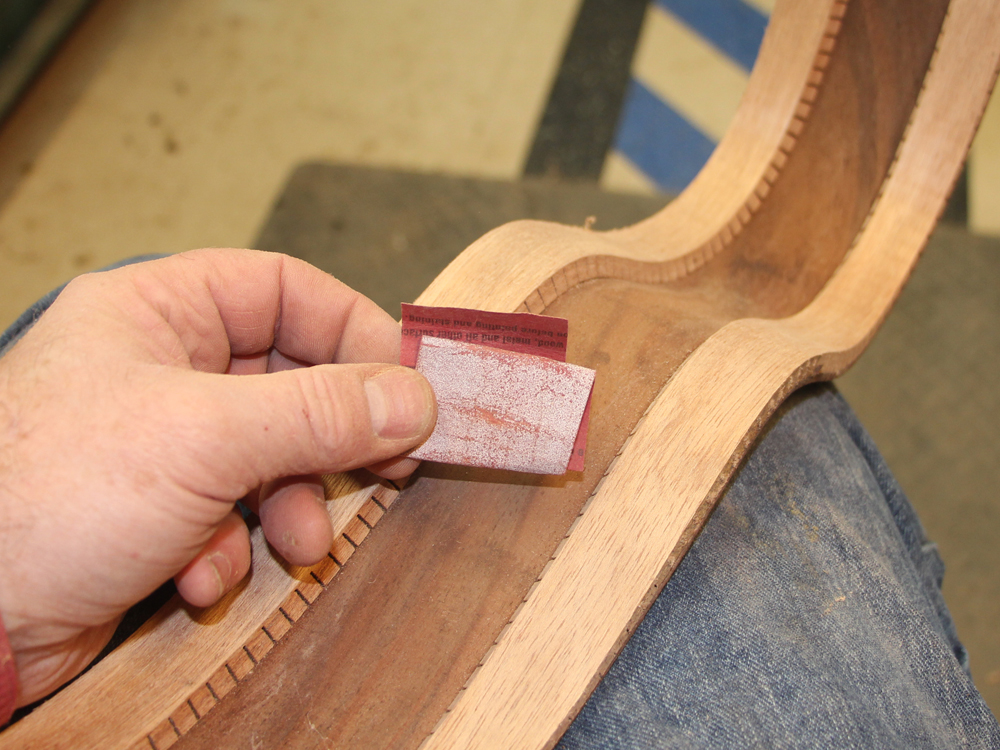
I use a pneumatic sanding drum to clean up the inside surfaces. I won't do anything to the outside surface until the binding is installed.
 ( 050 ) 20-Jan-15
A little hand sanding is required to get it right.
 ( 051 ) 20-Jan-15
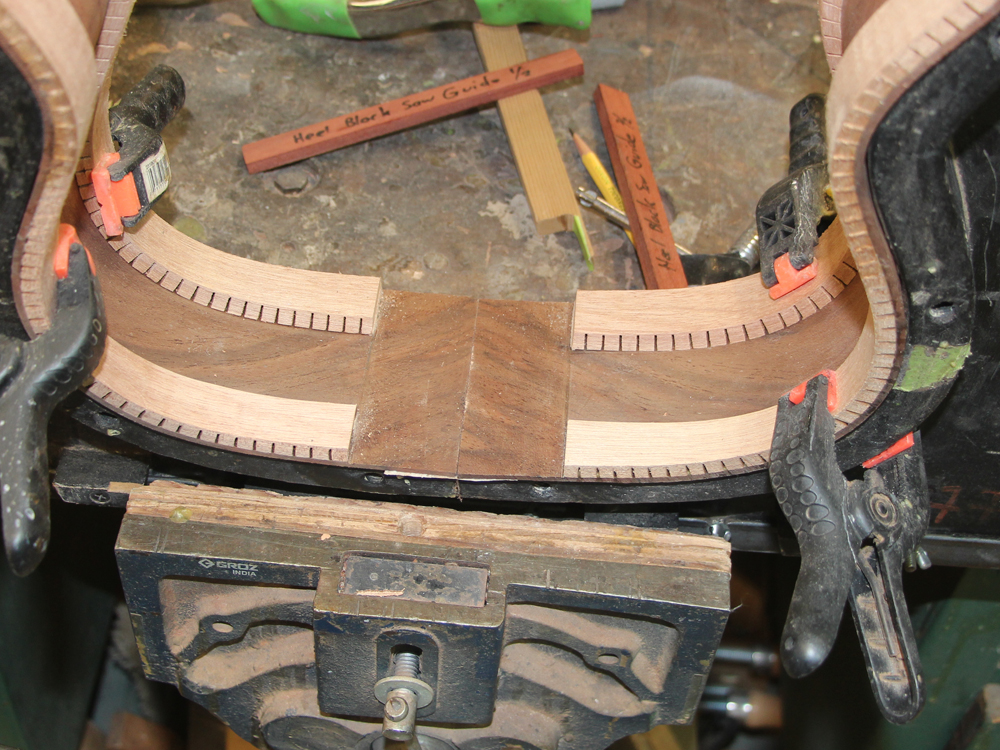
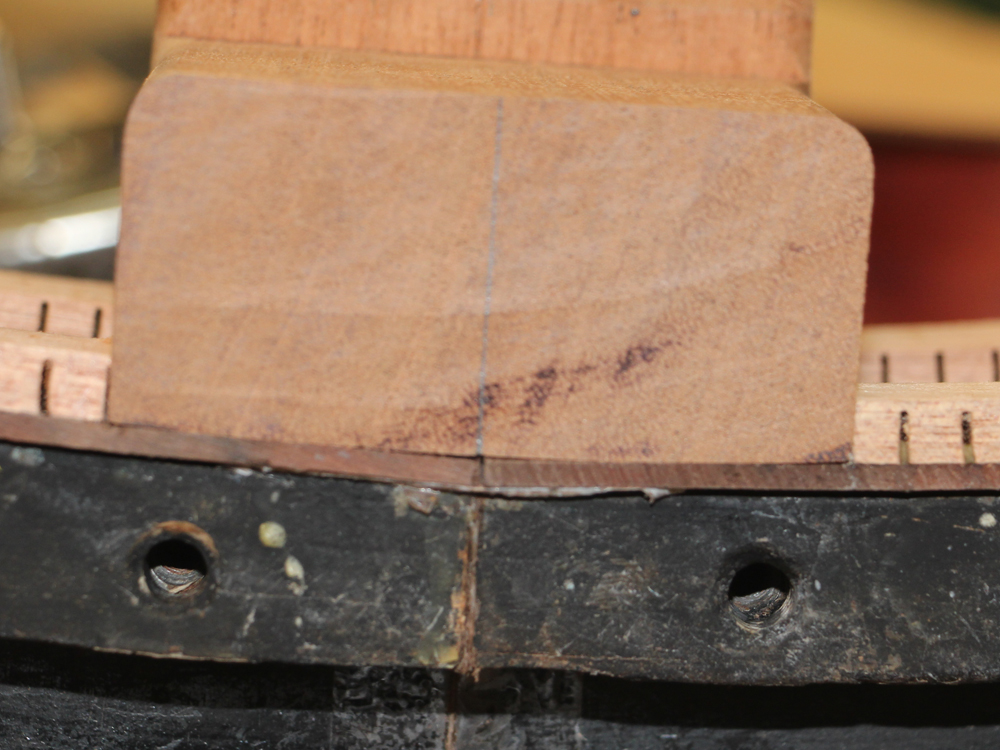
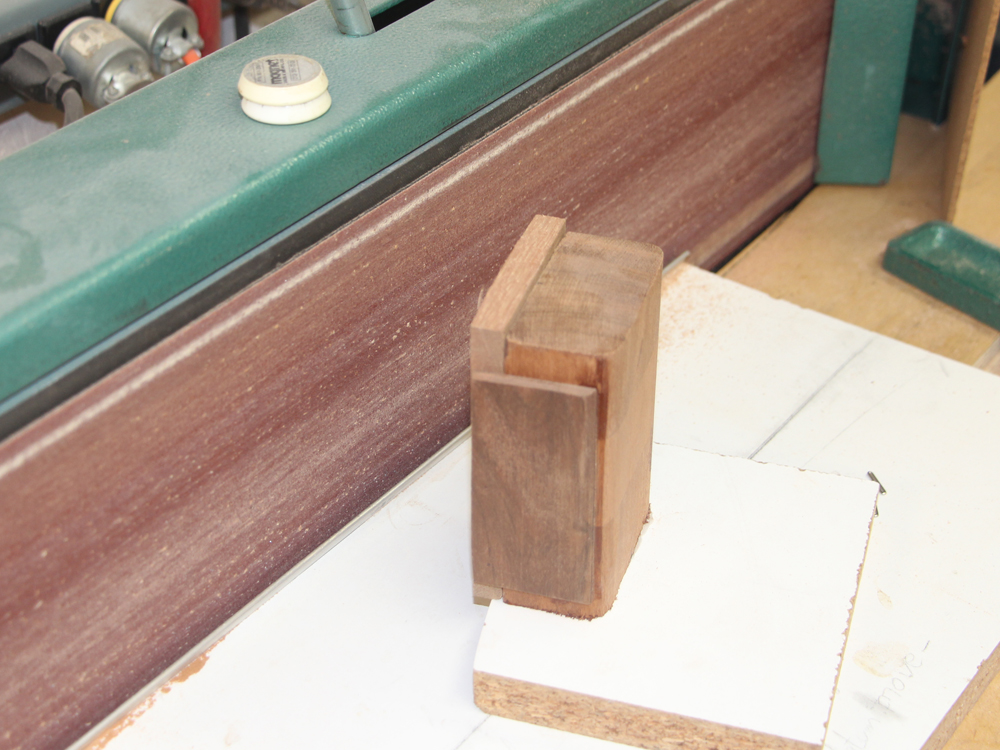
The two halves of the sides will be held together with the heel block and the tail block. Since the front and tail of the rim have a curve, I have to shape the blocks to match it. I use this jig that has the same shape as the rim to guide the sanding of the heel block.
 ( 052 ) 20-Jan-15
The bottom plate of the jig is pressed up against a metal lip that limits how far in the jig can move.
 ( 053 ) 20-Jan-15
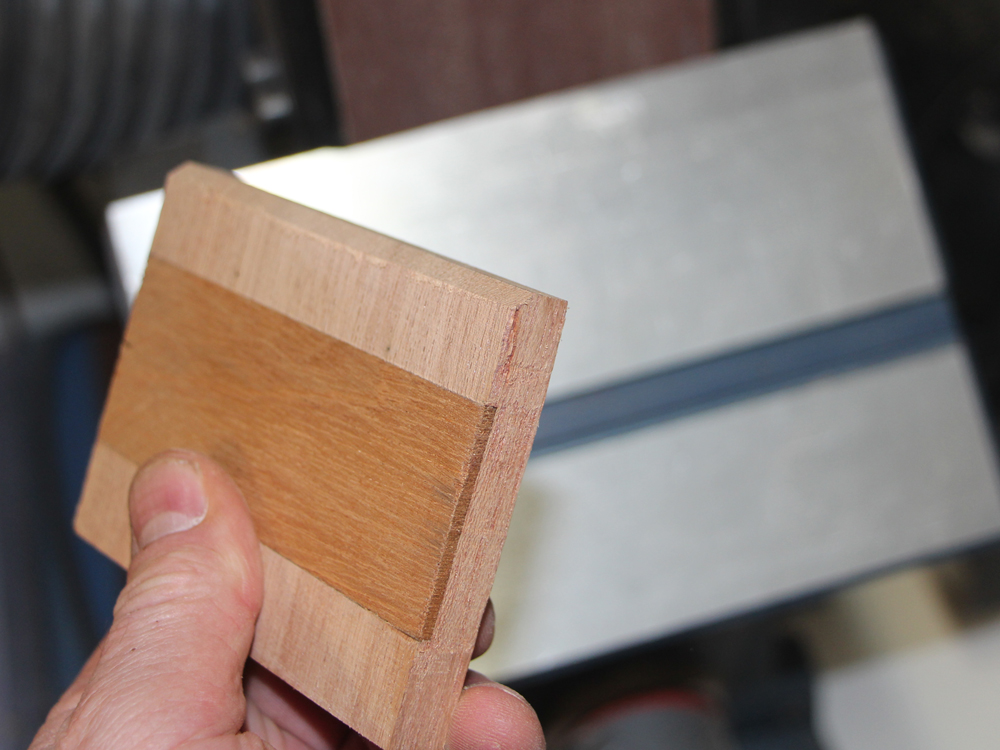
When the belt stops removing material the blocks have the right shape.
 ( 054 ) 20-Jan-15
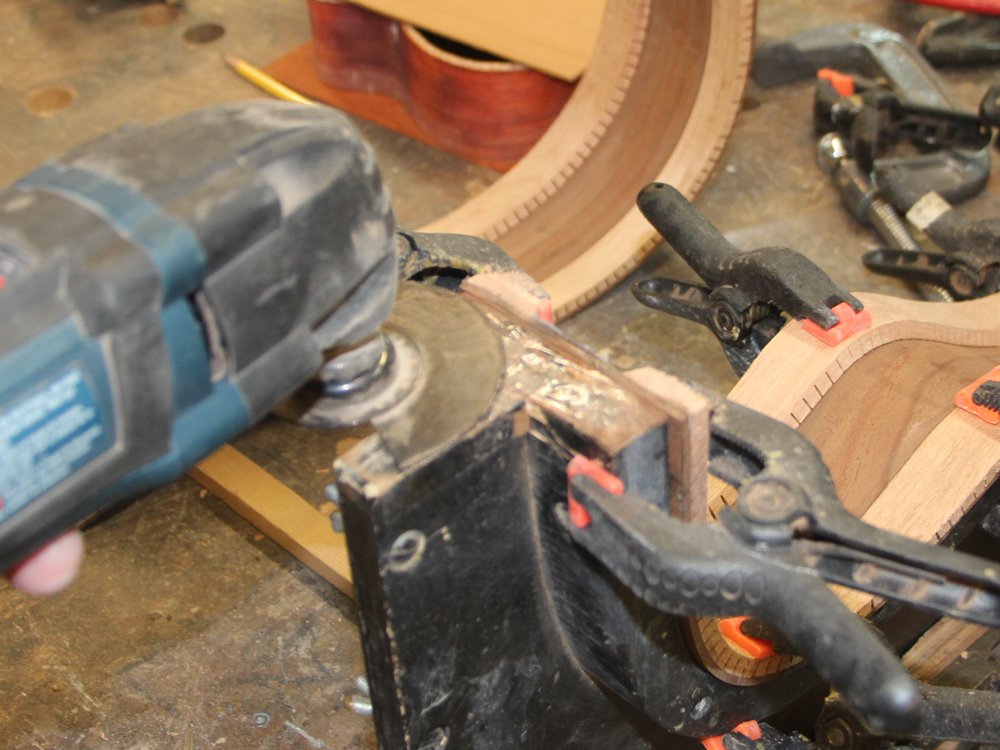
The ends of the side pieces need to be trimmed to the form. After mounting the sides in the form I use my multi tool with a saw blade attached to trim off the end pieces.
 ( 055 ) 20-Jan-15
The edge of the form guides the blade so I get a good square cut.
 ( 056 ) 20-Jan-15
I next tape the two halves together. I have started to do this so that when I glue the two halves together the squeeze out doesn't get into space between the form halves, dry and make it hard to break the rim out of the form. (little improvements to process, one at a time).
 ( 057 ) 20-Jan-15
The proto-rim goes into the form...
 ( 058 ) 20-Jan-15
and gets clamped into place.
 ( 059 ) 20-Jan-15
I position the heel block on top of the kerfing and clamp the guide rails in place.
 ( 060 ) 20-Jan-15
Using the rails as guides I cut of the kerfing.
 ( 061 ) 20-Jan-15
The blue tape I laid down twenty four pictures ago makes it easy to pry up the kerfing.
 ( 062 ) 20-Jan-15
Now the bottom of the shaped heel block fits right into place.
 ( 063 ) 20-Jan-15
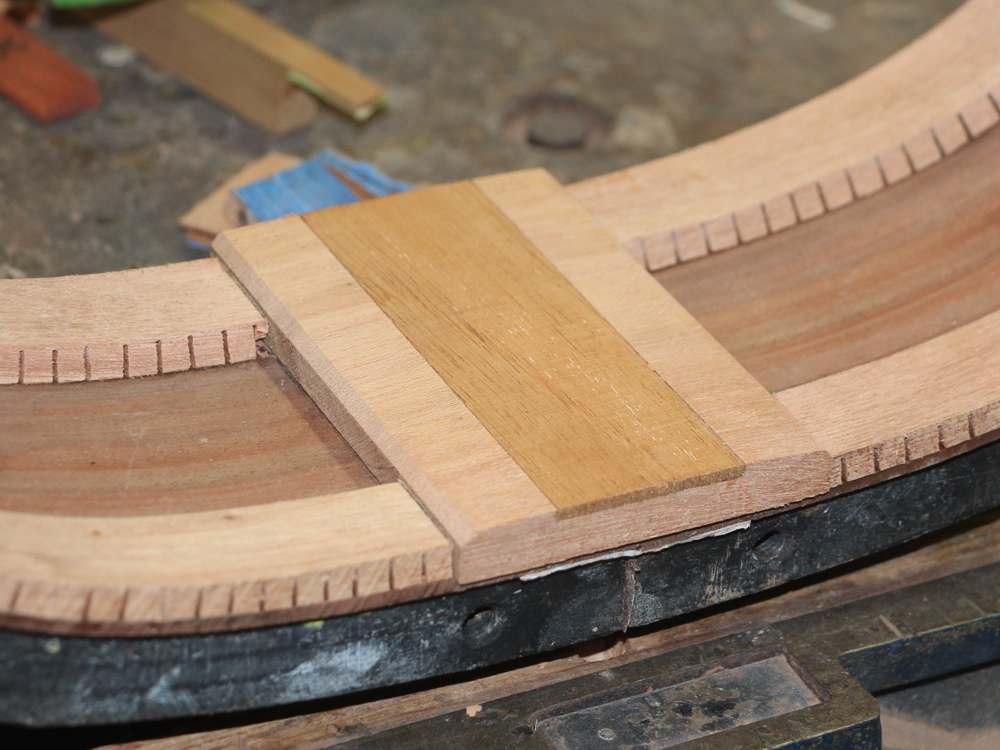
I have started to install a cross grain insert into the tail block to help prevent it splitting should the guitar get dropped... that would never happen would it?
 ( 064 ) 20-Jan-15
I like to put a bevel on the edges to match the kerfing height.
 ( 065 ) 20-Jan-15
 ( 066 ) 20-Jan-15
Now I use the same technique as I did with the heel block.
 ( 067 ) 20-Jan-15
And I have a channel for the tail block.
 ( 068 ) 20-Jan-15
Perfect fit.
 ( 069 ) 20-Jan-15
A bit of glue...
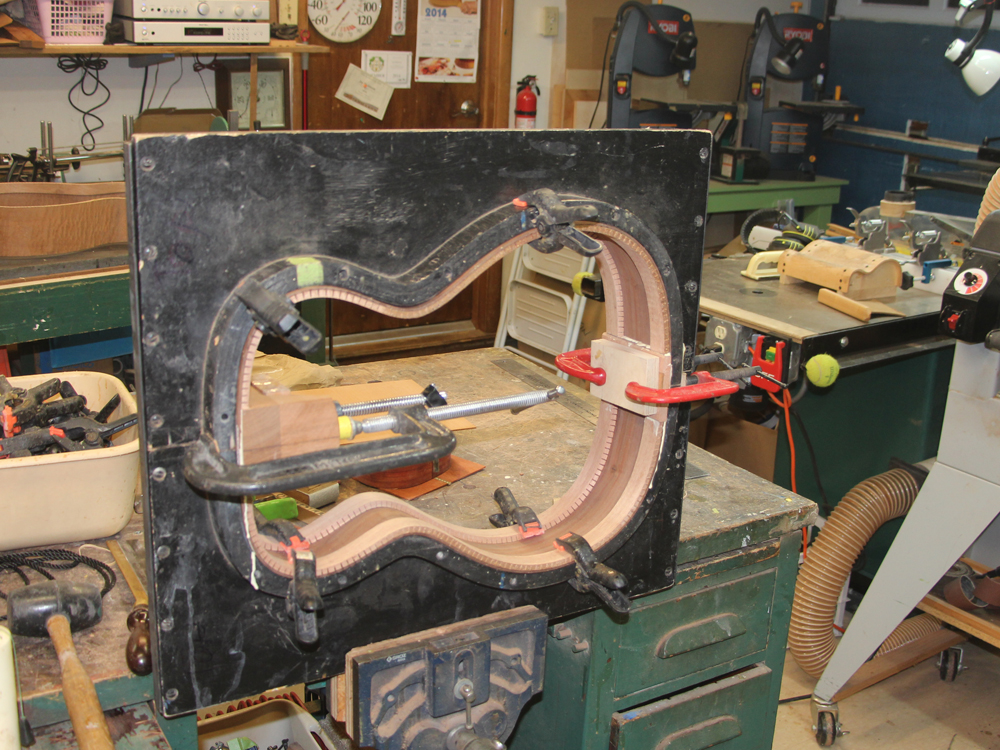 ( 070 ) 20-Jan-15
and a few clamps.
 ( 071 ) 20-Jan-15
I like to clean up the glue squeeze out before it sets.
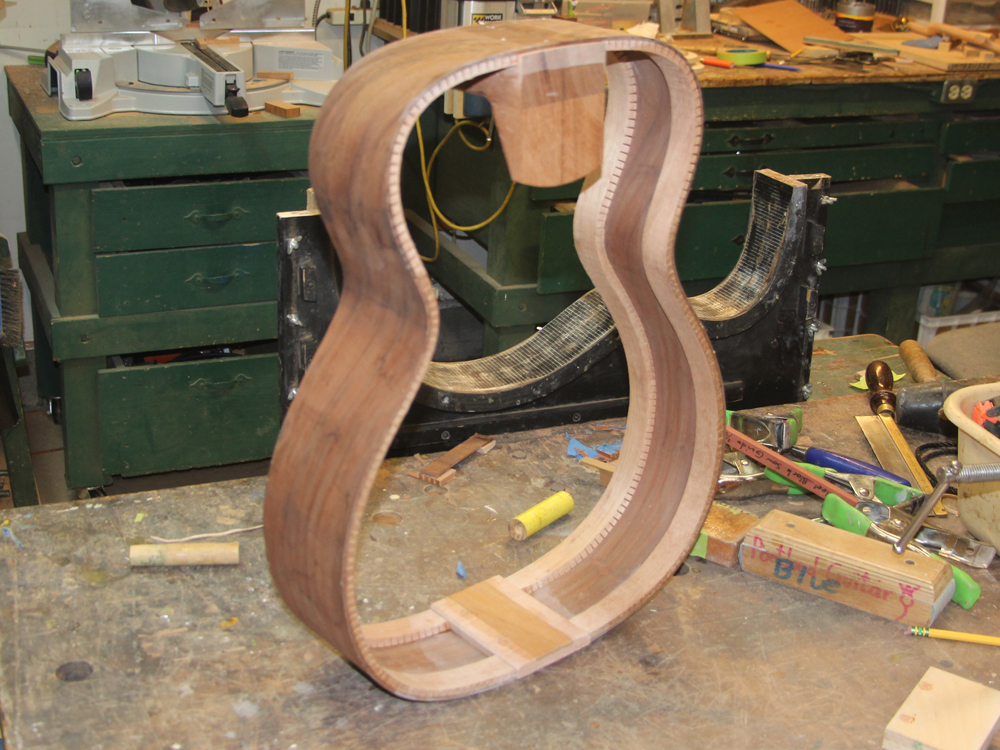 ( 072 ) 20-Jan-15
The rim primordial.
 ( 073 ) 20-Jan-15
The edges of rim needs to be sanded to the shape of the top and back. Here I am using the belt sander to do a little of the heavy lifting.
 ( 074 ) 20-Jan-15
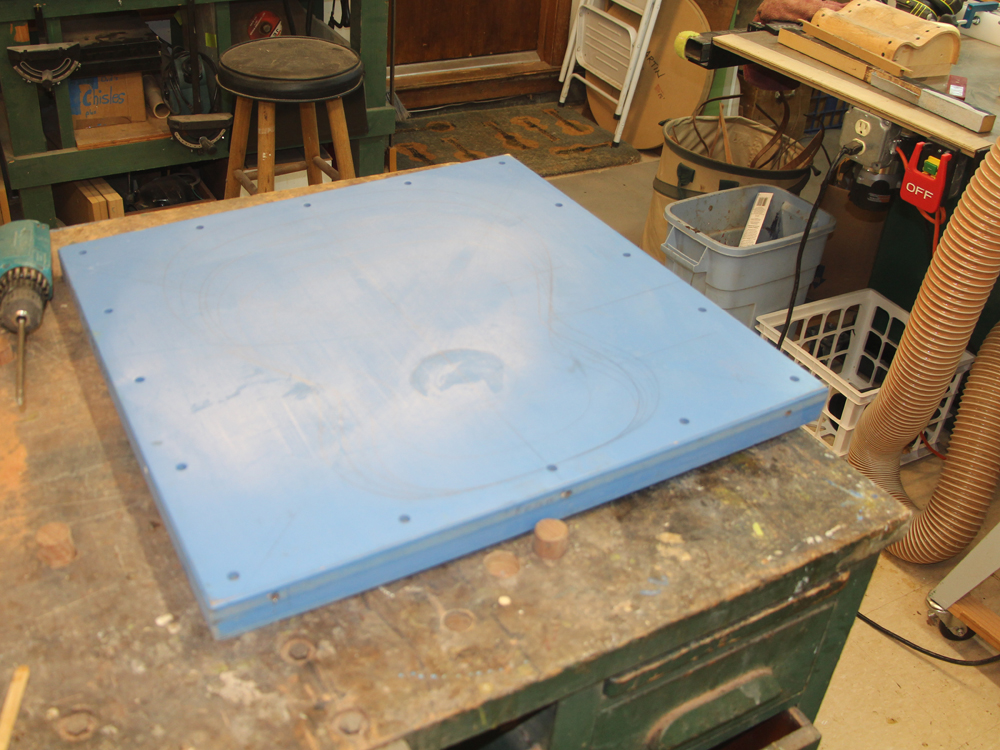
This is my top sanding form. It has a depression in the top that has the same shape as I want the top to have. The shape is a modified bowl with a radius of 20 feet.
 ( 075 ) 20-Jan-15
A piece of sand paper goes on the top.
 ( 076 ) 20-Jan-15
And then the rim is mounted in the side form.
 ( 077 ) 20-Jan-15
I mark the edge.
 ( 078 ) 20-Jan-15
Turn it over and apply a little pressure and then shove the stack back and forth... puff puff puff.
 ( 079 ) 20-Jan-15
When all of the marker has been removed, the edge has the same shape as the sanding form. After I make the top in the same form, the top and the rim will match up nicely.
 ( 080 ) 20-Jan-15
A little bit of fine tuning is required. In my guitars the top is a straight line rather than a bowl from the front edge to the bridge. Here I am making sure the top of the heel block lines up properly.
 ( 081 ) 20-Jan-15
Using the bottom sanding form the bottom edge of the rim gets the same treatment as the top edge .
 ( 082 ) 20-Jan-15
The bottom form is a bowl with a 16 foot radius.
 ( 083 ) 20-Jan-15
After a little more huffing and puffing I get a nice clean edge.
 ( 084 ) 20-Jan-15
The rim.
 ( 085 ) 20-Jan-15
Next up is the top and back.